Sunday, November 6, 2011

The Great Escape Journal - Up and Selling!

What a great weekend. 

I got an email friday from Minted letting me know that one of my designs is now for sale!  I love emails like these. 

Then Saturday I got an email saying it already sold to some fabulous person in Connecticut!  (thanks mysterious person on the east coast, I am sure you have excellent design sense!) 


Overall my I'd say my weekend is going really really well :) 
(on a random side note, both designs I am selling on Minted right now have a heart in the design...which is funny because I have always been an anti-heart kind of person...but I guess my tastes are changing, or I am ok with hearts if they work well in a design. ha!)

Sunday, October 23, 2011

DIY Wedding Letter/Monogram Sign In Board

I came up with this wedding ‘guest book’ idea ages ago, and finally got around to creating it to debut at the Wedding Essential’s Idea Show. 


This certainly will be something that you can purchase from us here at inkblot paper designs, but I just couldn’t resist sharing the Do-It-Yourself steps. 

So without further ado….I give you inkblot’s first DIY project: A Wedding Monogram/Letter Sign-in Board.


Supplies:
Pencil
Newsprint Paper or Other form of Scrap Paper
Scissors
White Poster Board
Black Poster Board
X-Acto Knife
Cutting Mat
Frame
Metal Ruler (optional)

 
Step One:
Freehand draw or trace a desired letter on the newsprint/scrap paper in the size you would like the finished letter to be. I chose a poster-sized letter to fit in a 24” x 36” frame.   
Helpful hint: if you have an LCD Projector, you can project any font from your computer onto the paper and trace the letter.  Make sure to select a font that will allow plenty of space for people to sign.  Bold serif or sans serif typefaces work well for this.


Step Two:
Cut letter out of newsprint/scrap paper.


Step Three:
Tape the newsprint letter to black poster board


Step Four:
Use an X-Acto knife to cut around the Letter through the Black Poster board. (Discard newsprint & black poster board letters)
Helpful Hint:  If you are cutting out a letter with a straight edge, use a metal edged ruler to guide the X-acto knife. This will create a nice finished edge. Also make sure you have a cutting mat under the poster board, you don’t want to ruin your table, counter floor, etc.


Step Five:
Layer the black poster board (with letter opening) over white poster board & place in frame (without glass).

Step Six:

Select your desired color of pen and have your guests sign on the white poster board inside the black cut out letter.   
Helpful Hint: Make sure to select a color that will fit with your home décor, not just your wedding colors, that way, when it is time to hang your letter, there will not be any clashing of colors.  Sometimes a nice neutral gold, silver or black is a good choice. These colors will always match your décor and changing tastes through the years.


Step Seven:
After the big day and the letter is completely filled with signatures and well wishes, remove the black poster board, cover the letter with glass and hang the framed letter on your wall or add to your bookshelf.  

Voila! A wedding memory that fits in perfectly with most any room style.

Happy crafting everyone & enjoy!

Monday, October 17, 2011

Ideas Show: Frames, Paper Chandeliers & More


Over the past month or so I shut myself away in my studio and created for the Wedding Essentials Idea Show.  I am so happy with how everything turned out.

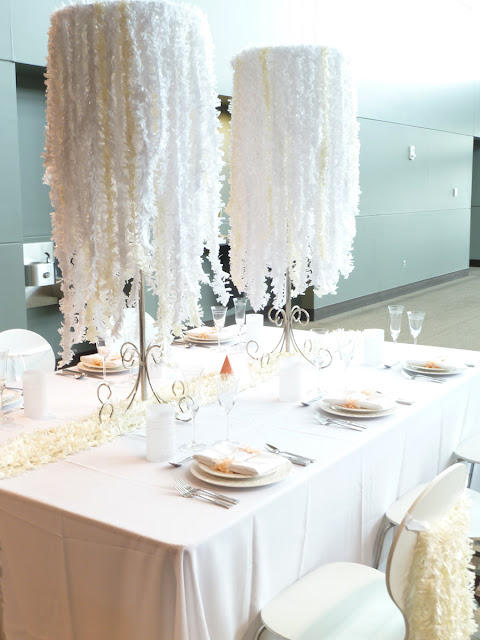
And…all that hard work really paid off!  The booth was beautiful (thank you to my wonderful husband and his carpentry skills), the tablescape design light, airy and breathtaking (if I do say so myself) and I now have LISTS of brides to follow up with!  Hooray!

For those that couldn’t make it, take a look at all of the Inkblot Ideas featured at the show!

The Booth


The Table Design

 I’ve wanted to make these paper chandeliers for ages and they turned out so gorgeous!


The Give-Away

Just a fun little something for the brides for stopping by the booth.  I hope they enjoy it!


A big thank you to my husband for building my booth, to my good friends Mindell & Jacque for working the show with me and to each and every bride for stopping!

Wednesday, September 28, 2011

Real Announcements: Purple + Green Garden, Very British...No?


This post has been a long time coming.   Gorgeous baby Harper McClean was born back in July to my good friend Mindell.  

If you’ve read this blog I am sure you are familiar with her family’s designs Click the following to see:  Hudson’s 1st Birthday Invites, the Housewarming Party InviteHappy New Years Cards & Baptism Announcements. I’ve joked with her that she should pay me a retainer and I can just create unlimited paper designs for her all year round, ha!)

When it came to Harper’s Birth Announcements Mindell couldn’t decide on just one photo (taken by another friend Erika, over at Elizabeth Rose Photography), can you blame her?  Harper is just super adorable.

So we came up with three versions of the announcement:


Also she wanted one design inspired by Harper’s nursery, which, has a very English garden feel: 


Monday, September 19, 2011

Real Wedding Suite: Colorado Forest in the Fall


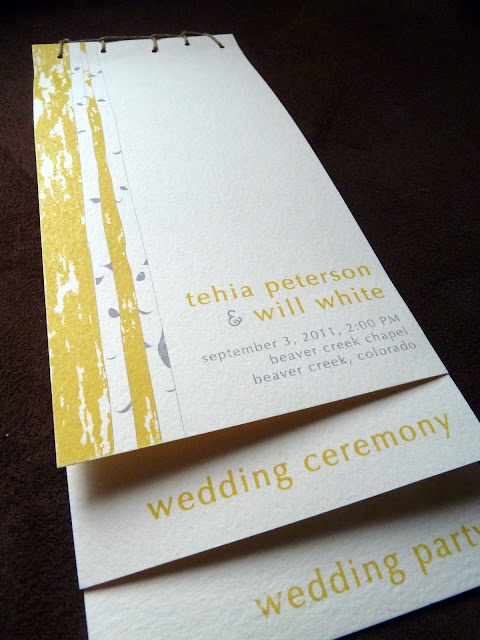
It was such a pleasure designing these invitations for Tehia and Will.  They have such impeccable taste and knew that little details can really enhance an already amazing wedding.

To introduce and excite family and friends to attend their wedding in the stunning Beaver Creek, Colorado, Tehia and Will selected s simplistic yet elegant design using the Colorado forestscape as inspiration.

I just LOVE how these turned out. 


And isn’t this photo of the bride just absolutely breathtaking? 

Matt Alberts Wedding Photography took these photos and even more stunning shots on the wedding day as well:  see more at his blog.


Rehearsal Invites


Programs


& Thank You Cards


I heard a rumor that their wedding may end up featured in a magazine…so I’ll keep you posted when that happens!

Sunday, September 11, 2011

New Design Obsession: Indigo Prints


After doing a bit of stalking on other designers' websites and blogs I discovered a new stationery website that accepts designs and holds competitions…hooray!

Indigo Prints accepts designs at anytime and also holds competitions.  What is great about this is that it requires little voting by you and I don’t really have too many deadlines, which is nice.  I get to work at my own speed.

I am really quite excited to announce that they already accepted one of my designs and I am waiting to hear back on the others:

Here is my accepted Pom Pom Design, I cannot wait to find out when it goes up for sale.


And here are the designs I submitted for the Baby Shower Invitation Challenge.

Drops of Rain

 Bundled Baby Boy

 & the Bundled Baby Girl Version: 

Baby Geography:

I can’t wait to hear the results (maybe sometime this week).  I’ll keep you updated when I find out.

Wednesday, September 7, 2011

Tweet – Rolling Old School Style


Kids these days…they need to learn there is more to social communication than a quick twitter message or status post on facebook. We need to get them writing! (I sound like a curmudgeonly old lady shaking her fist in the air at the neighbor kids when I say that, ha!)

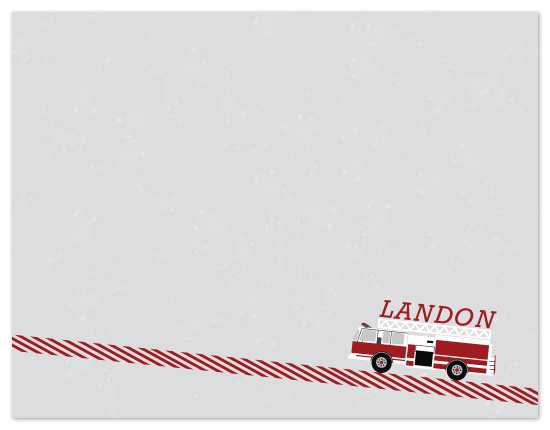
So joining in with the aforementioned ‘Kids’ I put up a post on my Facebook page a couple weeks ago asking for children’s stationery design requests and I had an outpouring of ideas, suggestions and special requests…but I didn’t have much time. So in the end only the following three designs were submitted and are now ready to be voted on over at Minted.

Please click on the below designs and you will be whisked away for voting. Many Many thanks!

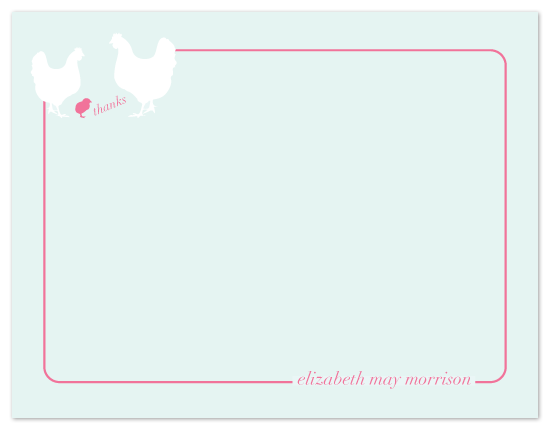
personal stationery - Chickadee

I think this one is my favorite – Think tweeting is only done online?  Hello, what about longhand? (Says the curmudgeonly old lady again!)

personal stationery - Color Me Dino

I really like the idea of making a kid’s note card that can be colored in. I wanted to do a whole slew of ‘color me’ cards, but alas, time was not my friend.


Also I’ve discovered a new stationery site to submit designs to! One of my designs has already been accepted by Indigo Prints and two new baby shower designs made it into the top 50 for the facebook fan favorite voting. More on that later, but take a look at their facebook page and like them to see a few more details before I post more myself!

Saturday, September 3, 2011

Real Wedding Suite: Glamourous Garden Pink & Black

I love designing for friends and family.  It is great to just 'know' what design is right for them. 

I've been holding back on this one.  My brother and his wife (see there save the dates here) were happily married back in June and I am excited to finally share their invites and wedding photos with you.  They were looking for something glamorous and classic in their wedding design.   This is what we came up with to give the guests a teaser of what was to come on the big day!  

Enjoy!
My new favorite embellishment is to add a coordinating graphic on the envelope, why does design have to stop inside, hidden away? I think the post office and mail man deserve to see a bit of pretty design as well!

I love the iridescence of this paper, depending on which way you looked it was a vivid pink to a deep raspberry and even sometimes had a red tint (which made my brother happy that it wasn't totally PINK, ha!)


And from the Wedding Day: 


I LOVE their faces, especially Tom, there IS a rather large clump of birdseed traveling towards his face!


& All the little details: 


My Shoes from the big day.  THANK YOU Betsey Johnson!