What an exciting day!
Style Me Pretty – Midwest has shared a gorgeous styled wedding shoot
that I worked on this past August.
Together with some pretty amazing wedding vendors here in Omaha, we put together a Mid Century-Mod inspired wedding
photo shoot. Once of the best things
about styling a ‘make believe’ wedding? The
‘bride’ didn't have to worry or care about what it looked like (well actually
she did. She is an amazing interior
designer that helped with the pre-shoot styling, but once onsite, she just got to
have fun with her hubby, yep, believe it or not that happy couple really is
married). Could we have asked for a
more beautiful couple to tell the story of such a stylish wedding?
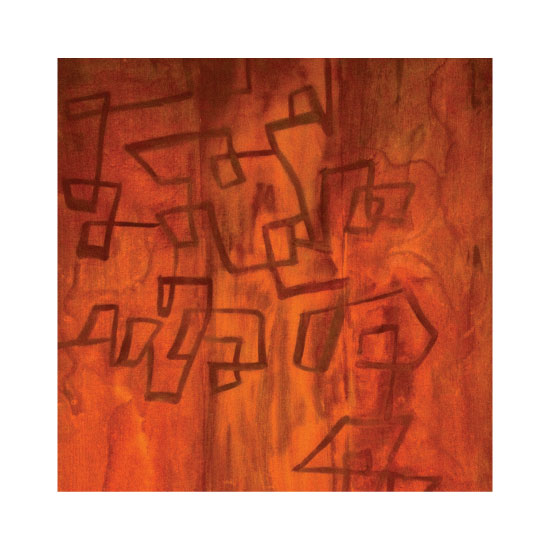
Here are a few images that I am most proud of, featuring
nothing but some super mod Inkblot Paper designs. (Yes, your eyes don’t deceive
you, I did indeed print on real wood veneer using just a color laser printer!) Click Here for the full gallery to see more
at Style Me Pretty.


A big thanks to
-Carrie Dayton Events for bringing us all together and being
the best producer and photo director
-Geoff Johnson for capturing all the beauty so we could
share it with the world
the guys at Hutch for being inspiration for the shoot and lugging furniture out to the country to
set the stage
-Tracey with Florals Etcetera for
being so intuitive to create the perfect flowers to add such beautiful colors
to the scene
-Courtney with Modern Hive for her pre-shoot styling and to her hubby for
being such a good sport and a good looking model to boot
-Jocelyn at Ready or Knot for
bringing beautiful dresses and a great personality
-Hilda (yes she only needs one name) who is one an amazing
hair stylist that not only did the hair at this styled shoot, but my own wedding
hair almost 9 years ago
-The Chocolate Bar for that amazing Cake
And last, but certainly not least, to my mother-in-law and father-in-law
for letting us wander and create vignettes all over their property to set the
scene so perfectly.